Ion2017-07-18/en: Difference between revisions
| Line 57: | Line 57: | ||
[[File:IMG_0123.JPG|600px]] | [[File:IMG_0123.JPG|600px]] | ||
= | = Rear view camera = | ||
The rear view camera was procured by Car Clinic. | |||
[[File:IMG_0101.JPG|600px]] | [[File:IMG_0101.JPG|600px]] | ||
Revision as of 05:05, 1 August 2017
back to the german goingelectric Forum
6000 km / 1 Megawatt-Hour
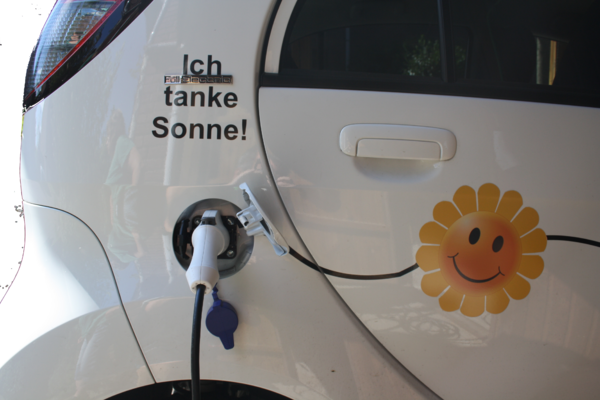
Since the delivery drive in february we have travelled more than 6000 km with the electri car and used some 1 Megawatthour of electric power. Since we do not commute with the car the mileage per 100 km is lower compared to commuters.
The BITPlan - Charging Logbook - Software based on the Volkszähler-Java Frontend is intended to automatically import the the data from the car and charging control.
So far we have chared the vehicle 178 times with 24 times using a Chademo.

Installation
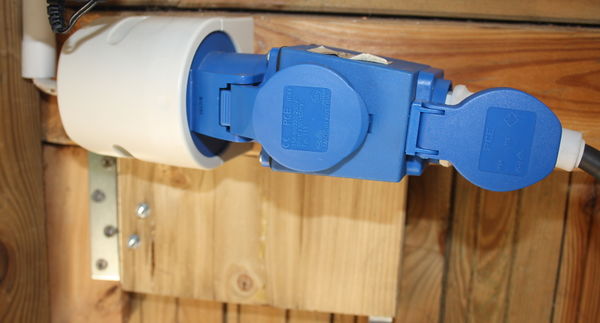
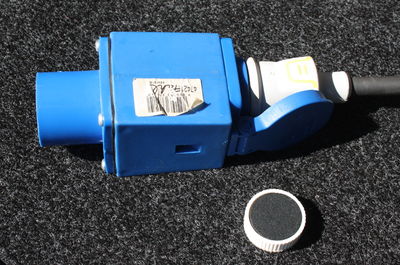
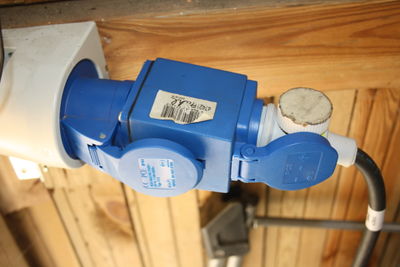
The Carport has a CEE blue 16 Ampere Socket installed. The ICCB of the Ion is connected via a Adapter which also has room for the Magnetschalter that switches to the 14 Ampere mode:
The Cabel including the plug can be put outside thru a whole that can be locked.
A magnet like it used for magnetic boards is strong enough to switch from 8 ampere to 14 ampere mode.
For the position of the magnets a bit of trial and error might be necessary.
External Socket
The housing is based on a Aldi-stainless steel medical housing from a clearance.
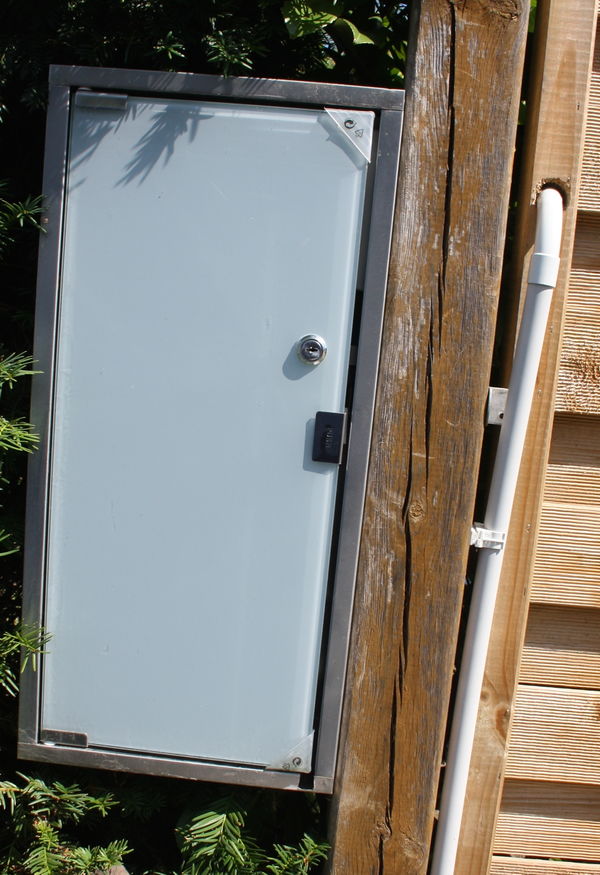
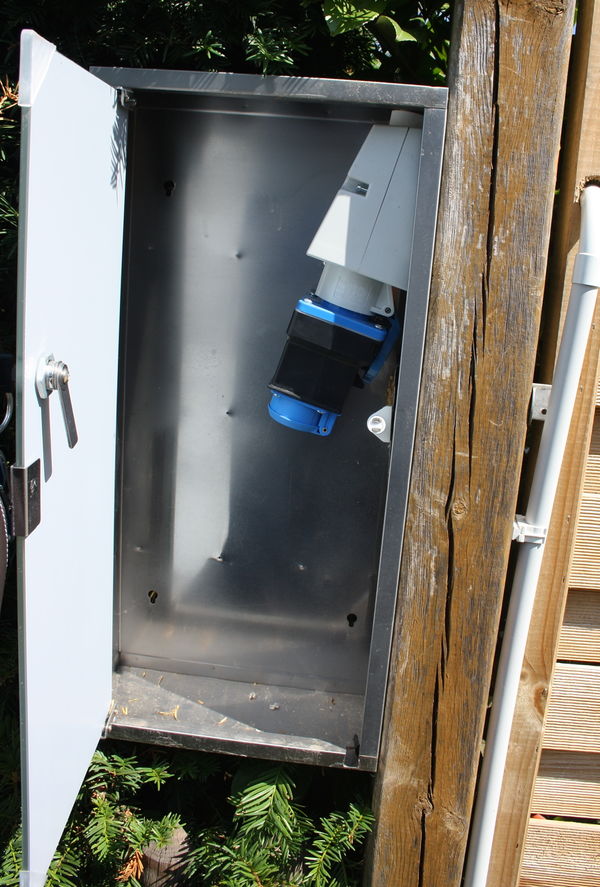
Wallbox
see also http://can4eve.bitplan.com/index.php/Simple_EVSE#tab=DIY
The Wallbox is based on SimpleEvSe and has a Raspberry PI which reads the data from the power meter and interfaces to the charge controller.
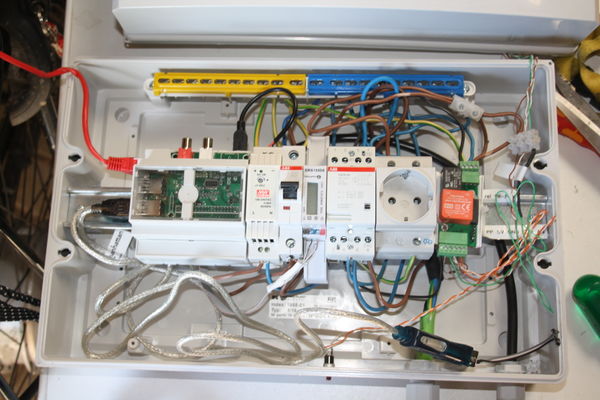


The Wallbox has its own Type-1 Cable.
The "Brick" may now stay with the car.
Double-DIN Car Radio
The car conversion works haven been done by Car Clinic Schiefbahn. The necessary
parts like the Radio console and the Android carradio were supplied by us.
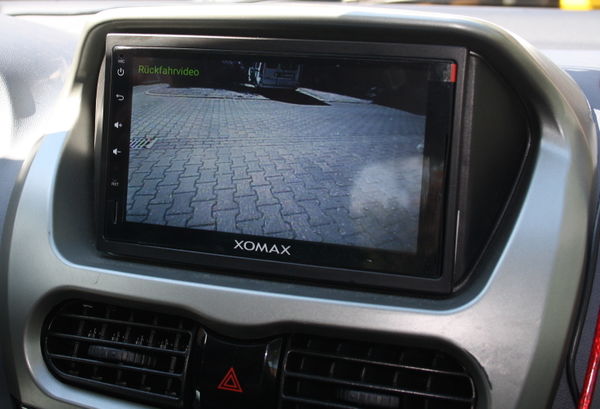
Rear view camera
The rear view camera was procured by Car Clinic.

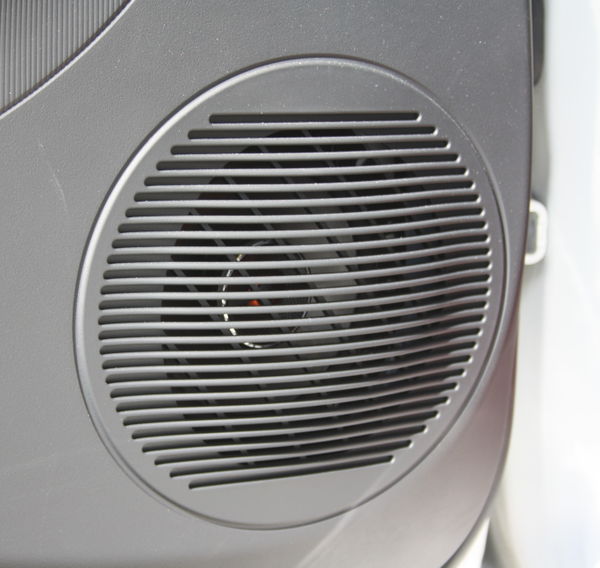
Lautsprecher hinten
Es sind JBL GX 502 Lautsprecher verbaut.
Raspberry PI
In einem Raspberry Pi 7" Touchscreen Display & Gehäuse ist ein normaler Raspberry PI 3 verbaut.
Eine Tablethalterung ist mit der Rückplatte des Gehäuses verbunden. Die Verbindung musste dafür mit einem Proxxon/Dremel passend gefräst werden. Das eigentliche Gewicht halten Kabelbinder.
Can4Eve Software
Die Can4Eve Software läuft auf dem Raspberry, so dass die Android-Oberfläche des Radios für die Navigation und andere Funktionen frei bleibt.
OBD Port
Als OBD-Verbindung dient ein OBDLink SX
