Ion2017-07-18/en


Wolfgang Fahl

This page in other languages: de

Ion2017-07-18 en

back to the german goingelectric Forum

6000 km / 1 Megawatt-Hour

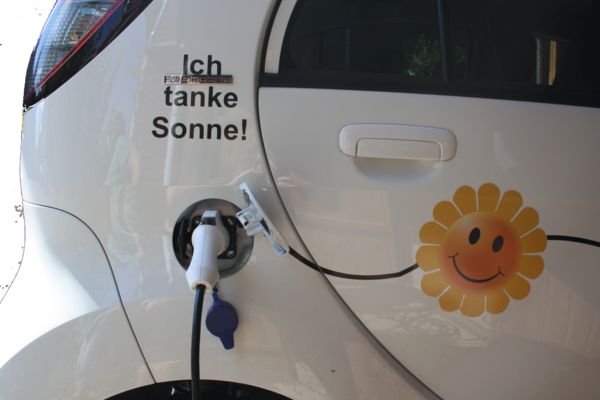
Since the delivery drive in february we have travelled more than 6000 km with the electri car and used some 1 Megawatthour of electric power. Since we do not commute with the car the mileage per 100 km is lower compared to commuters.

The BITPlan - Charging Logbook - Software based on the Volkszähler-Java Frontend is intended to automatically import the the data from the car and charging control. So far we have chared the vehicle 178 times with 24 times using a Chademo. Ladlog2017-07-31.png

Installation

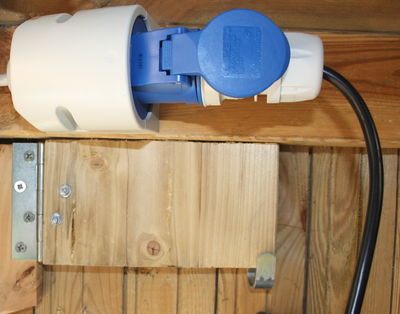
The Carport has a CEE blue 16 Ampere Socket installed. The ICCB of the Ion is connected via a Adapter which also has room for the Magnetschalter that switches to the 14 Ampere mode:

IMG 0080.JPG

The Cabel including the plug can be put outside thru a whole that can be locked.

IMG 0082.JPGIMG 0083.JPG

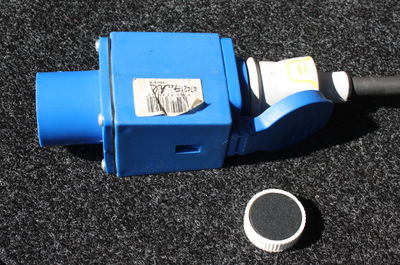
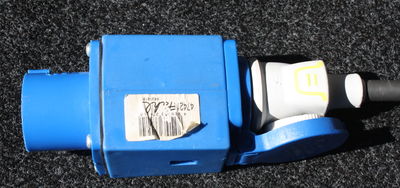
A magnet like it used for magnetic boards is strong enough to switch from 8 ampere to 14 ampere mode.

IMG 0084.JPGIMG 0085.JPG

For the position of the magnets a bit of trial and error might be necessary.

IMG 0087.JPG

IMG 0088.JPG

IMG 0086.png

External Socket

The housing is based on a Aldi-stainless steel medical housing from a clearance. IMG 0099.JPG IMG 0100.JPG

Wallbox

see also http://can4eve.bitplan.com/index.php/Simple_EVSE#tab=DIY

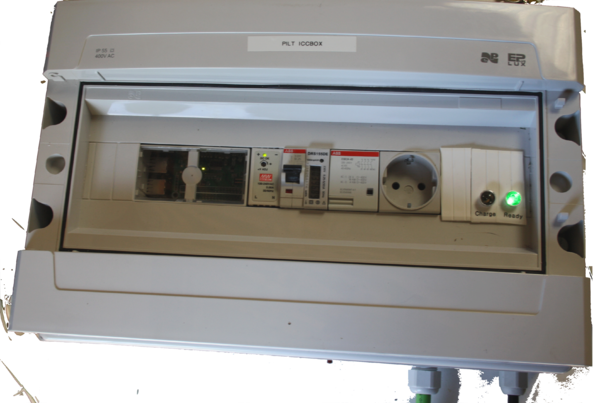
The Wallbox is based on SimpleEvSe and has a Raspberry PI which reads the data from the power meter and interfaces to the charge controller. IMG 0089.JPG IMG 0093.png IMG 0095.JPG

The Wallbox has its own Type-1 Cable.

IMG 0097.JPG

The "Brick" may now stay with the car.

IMG 0079.JPG

Double-DIN Car Radio

The car conversion works haven been done by Car Clinic Schiefbahn. The necessary parts like the Radio console and the Android carradio were supplied by us. IMG 0123.JPG

Rear view camera

The rear view camera was procured by Car Clinic. IMG 0101.JPG

Back speakers

JBL GX 502 Speakers were installed. IMG 0102.JPG

Raspberry PI

In a Raspberry Pi 7" Touchscreen Display & Case a normal Raspberry PI 3 is installed.

IMG 0130.JPG

ATabletmounting is connected to the back of the housing. The connection hat to be manually prepared with a Proxxon/Dremel. The actual weight is hold by cable ties.

IMG 0132.JPG

Can4Eve Software

The Can4Eve Software runs on the Raspberry, so that the Android software of the Radio is available for navigation and other functions.

IMG 0148.JPG

OBD Port

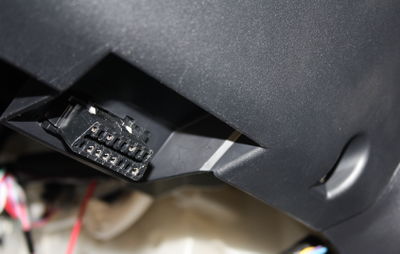
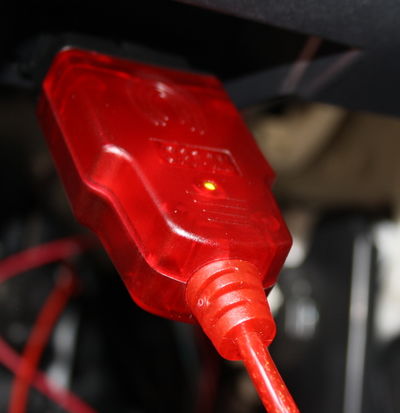
The OBD-Connection is done with a OBDLink SX

IMG 0115.JPG IMG 0121.JPG

6000 km / 1 Megawatt-Hour[edit]

Since the delivery drive in february we have travelled more than 6000 km with the electri car and used some 1 Megawatthour of electric power. Since we do not commute with the car the mileage per 100 km is lower compared to commuters.

The BITPlan - Charging Logbook - Software based on the Volkszähler-Java Frontend is intended to automatically import the the data from the car and charging control. So far we have chared the vehicle 178 times with 24 times using a Chademo. Ladlog2017-07-31.png

Installation[edit]

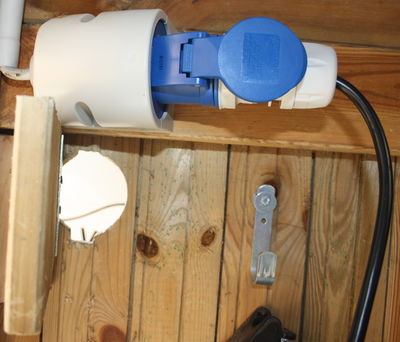
The Carport has a CEE blue 16 Ampere Socket installed. The ICCB of the Ion is connected via a Adapter which also has room for the Magnetschalter that switches to the 14 Ampere mode:

IMG 0080.JPG

The Cabel including the plug can be put outside thru a whole that can be locked.

IMG 0082.JPGIMG 0083.JPG

A magnet like it used for magnetic boards is strong enough to switch from 8 ampere to 14 ampere mode.

IMG 0084.JPGIMG 0085.JPG

For the position of the magnets a bit of trial and error might be necessary.

IMG 0087.JPG

IMG 0088.JPG

IMG 0086.png

External Socket[edit]

The housing is based on a Aldi-stainless steel medical housing from a clearance. IMG 0099.JPG IMG 0100.JPG

Wallbox[edit]

see also http://can4eve.bitplan.com/index.php/Simple_EVSE#tab=DIY

The Wallbox is based on SimpleEvSe and has a Raspberry PI which reads the data from the power meter and interfaces to the charge controller. IMG 0089.JPG IMG 0093.png IMG 0095.JPG

The Wallbox has its own Type-1 Cable.

IMG 0097.JPG

The "Brick" may now stay with the car.

IMG 0079.JPG

Double-DIN Car Radio[edit]

The car conversion works haven been done by Car Clinic Schiefbahn. The necessary parts like the Radio console and the Android carradio were supplied by us. IMG 0123.JPG

Rear view camera[edit]

The rear view camera was procured by Car Clinic. IMG 0101.JPG

Back speakers[edit]

JBL GX 502 Speakers were installed. IMG 0102.JPG

Raspberry PI[edit]

In a Raspberry Pi 7" Touchscreen Display & Case a normal Raspberry PI 3 is installed.

IMG 0130.JPG

ATabletmounting is connected to the back of the housing. The connection hat to be manually prepared with a Proxxon/Dremel. The actual weight is hold by cable ties.

IMG 0132.JPG

Can4Eve Software[edit]

The Can4Eve Software runs on the Raspberry, so that the Android software of the Radio is available for navigation and other functions.

IMG 0148.JPG

OBD Port[edit]

The OBD-Connection is done with a OBDLink SX

IMG 0115.JPG IMG 0121.JPG

🖨 🚪